How to change the address for storing accounting documentation in CEIDG?

Changing the Storage Location of Accounting Records. Remember, this change must be reported. In this article, we'll show you step-by-step how to easily update your CEIDG data without even leaving your office.

Learn how to complete the online application and what to pay attention to for a smooth process. Watch the video tutorial just below this text or review the steps described below.

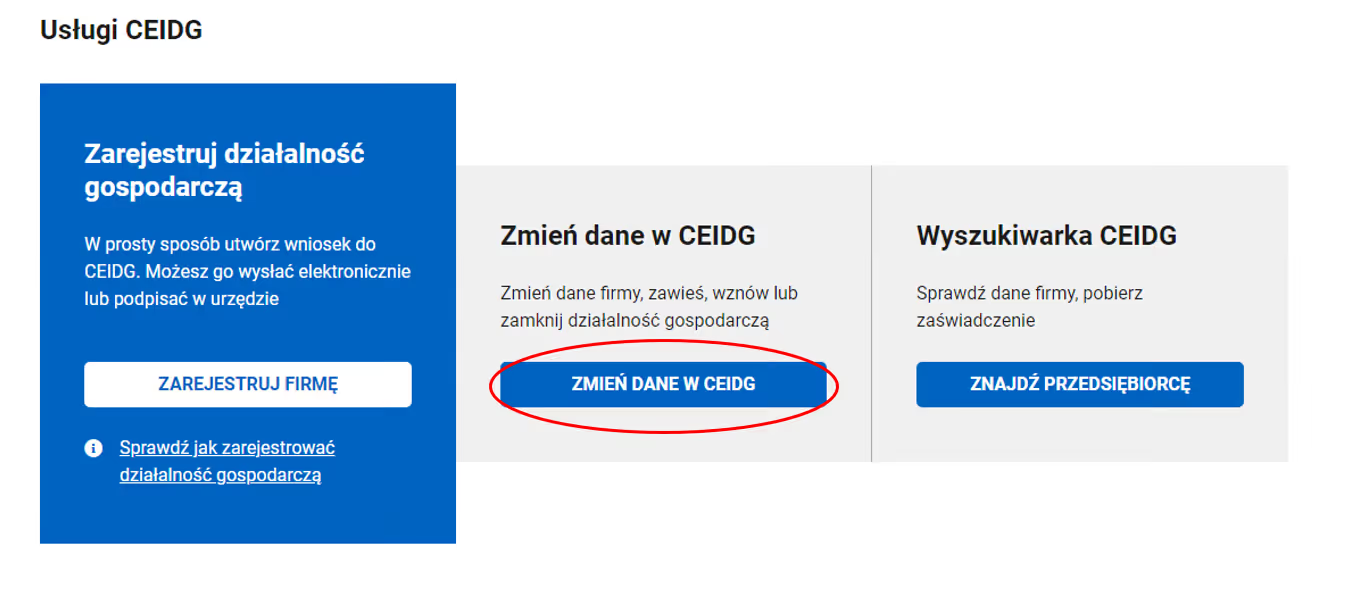
Step 1: Go to biznes.gov.pl and select "Change data in CEIDG".

Link to the website: biznes.gov.pl
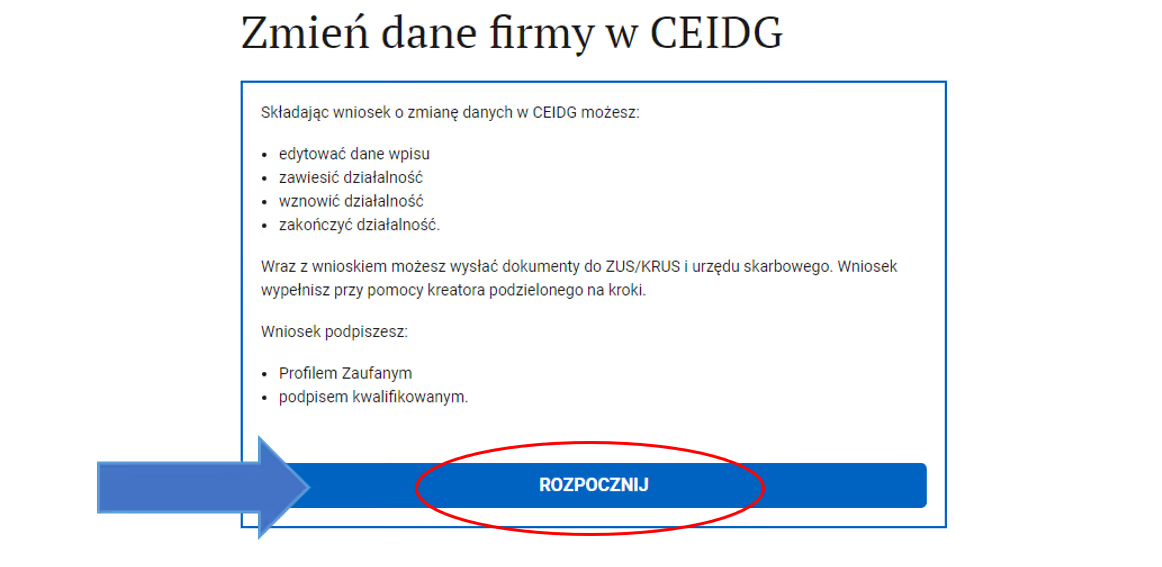
Step 2: Select the option "Start" and log in using your chosen method (most often, Trusted Profile).

Step 3: An important message will appear, which you can review. Finally, select "next" and proceed to the next steps.

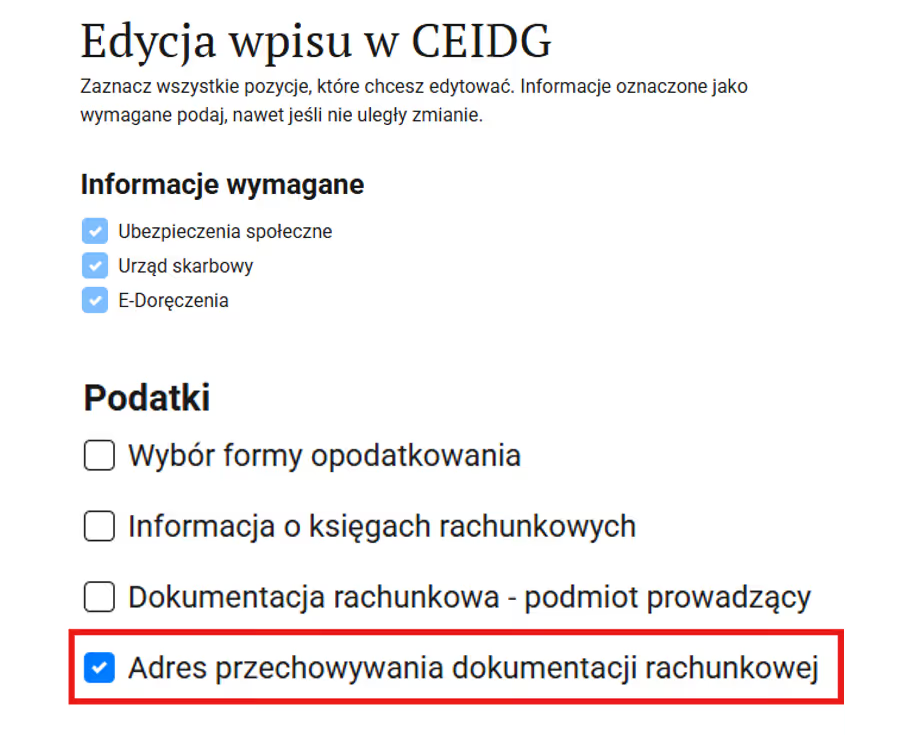
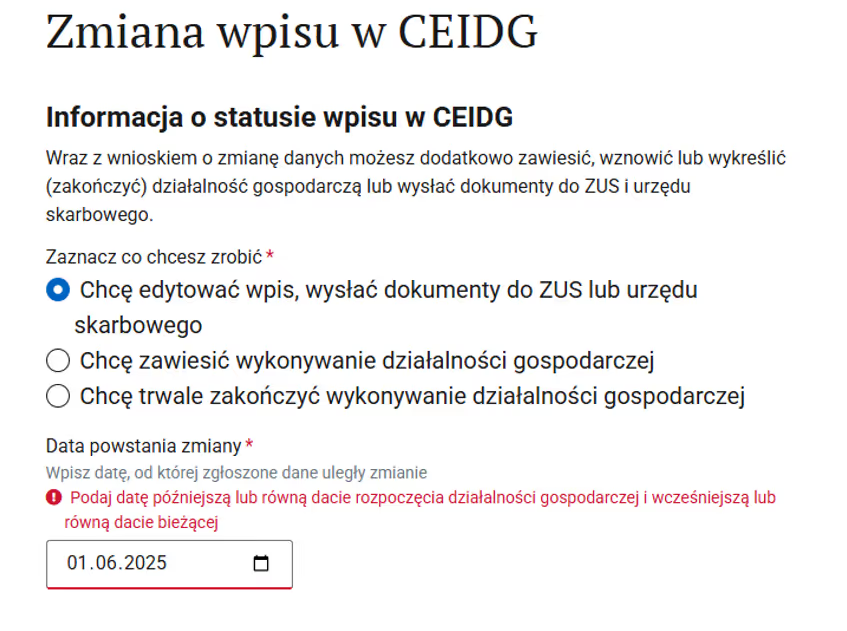
Step 4: Select the option "I want to edit the entry, send documents to ZUS or the tax office". For the date, select the day the registered office address changed.

Step 5: In the "Taxes" section, select "Address for storing accounting records".

Step 6: In the next step, you can apply for an e-delivery address. You can skip this option by selecting "I am not applying for an e-delivery address”.

Step 7: Next, you need to select social insurance – typically, we indicate ZUS.

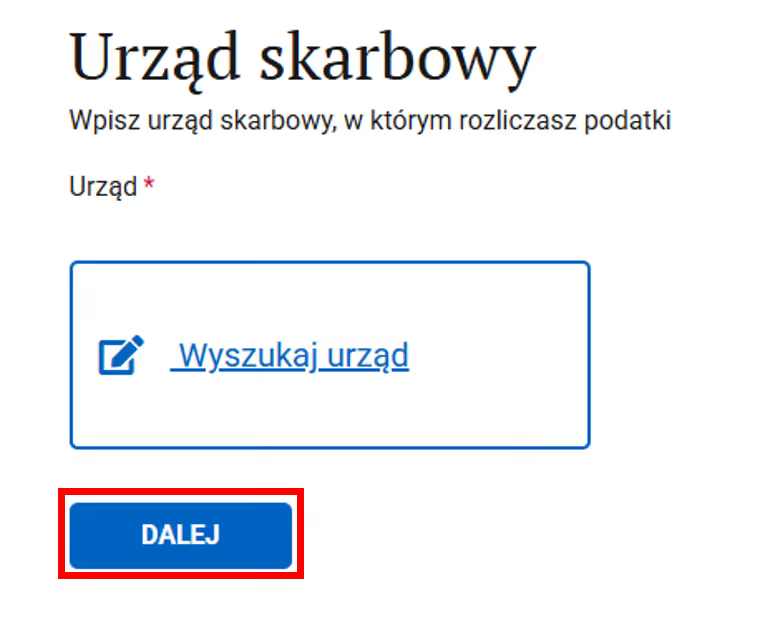
Step 8: Select tax office, under which your business operates.

Step 9: Select the option to add a new document storage address.

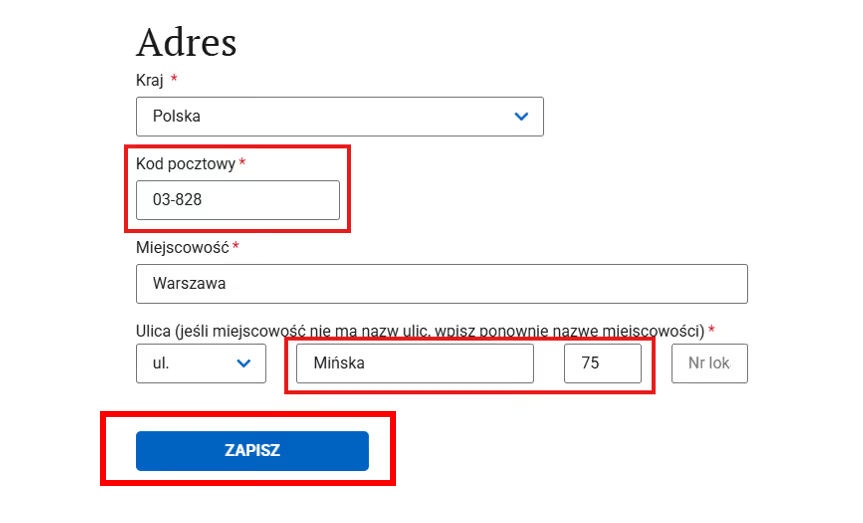
Step 10: Enter the details of the new registered office – it's best to enter the postal code first, as the city name will then be filled in automatically. Next, enter the street name and number.

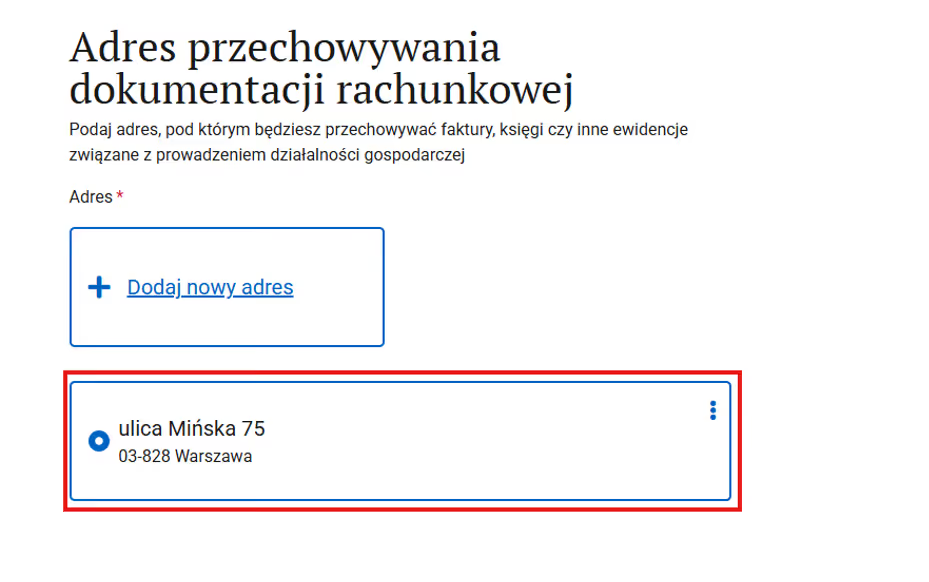
Step 11: Select the newly created address.

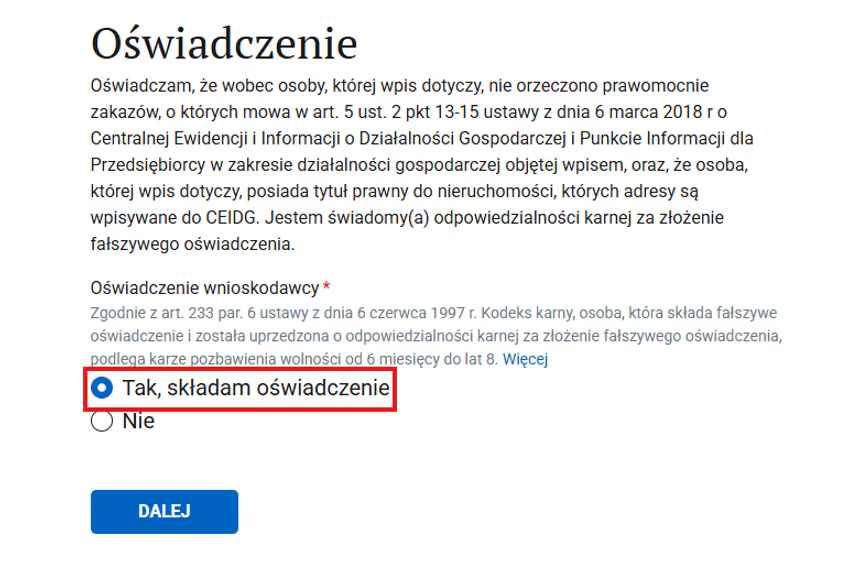
Step 12: Read the declaration and select "Yes, I submit the declaration".

Step 13: Indicate the receiving office for the application - select the default option.

Step 14: A message summarizing the entire process will appear. Click "next".

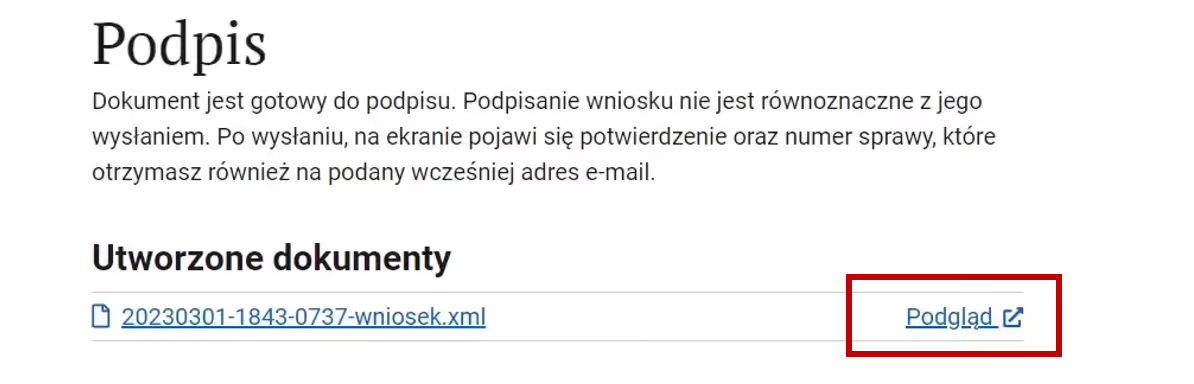
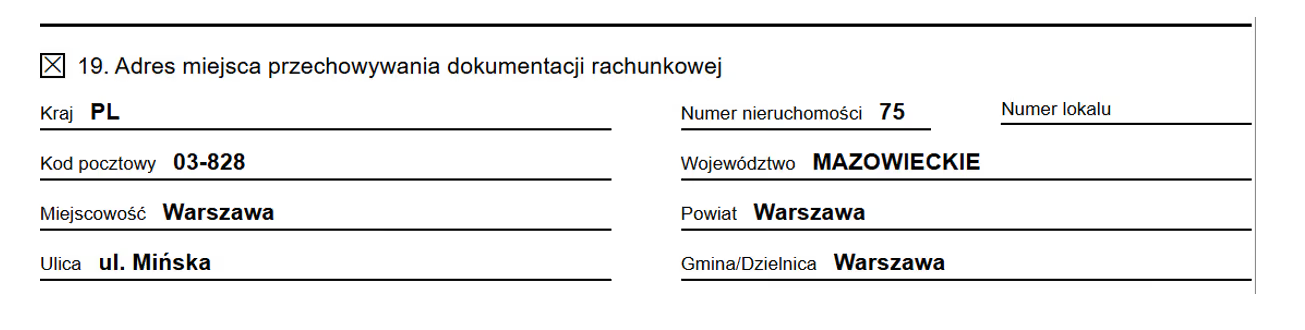
Step 15: Go to file preview and verify that point 19 in the application is filled in correctly.

Correctly completed point 19:

Step 16: Sign the document using a Trusted Profile, Qualified Electronic Signature, or through online banking.

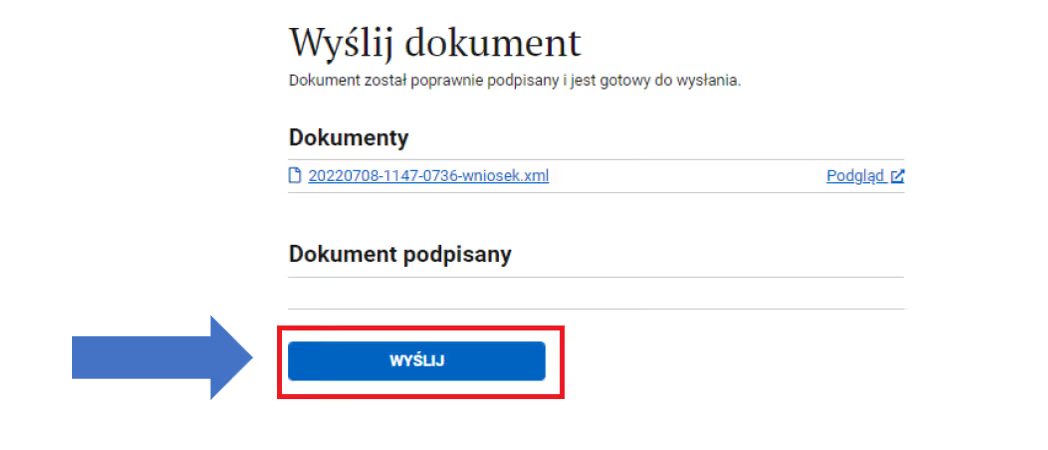
Step 17: After successful signing, submit the application.

Done! As a result, you will receive a confirmation that the application has been sent.

Powiązane treści

Write to us and let's start!

Thank you! Your submission has been received!
Oops! Something went wrong with the form.